Tutorial

1. Bust Measurement
Use the tip of a measuring tape. Place the tape over the shoulder blades, under the arms, and over the fullest part of the bust.
This measurement is used to enlarge all parts of the pattern above and including the waistline, i.e., collars, necklines, sleeves, and upper body areas in the front and back.
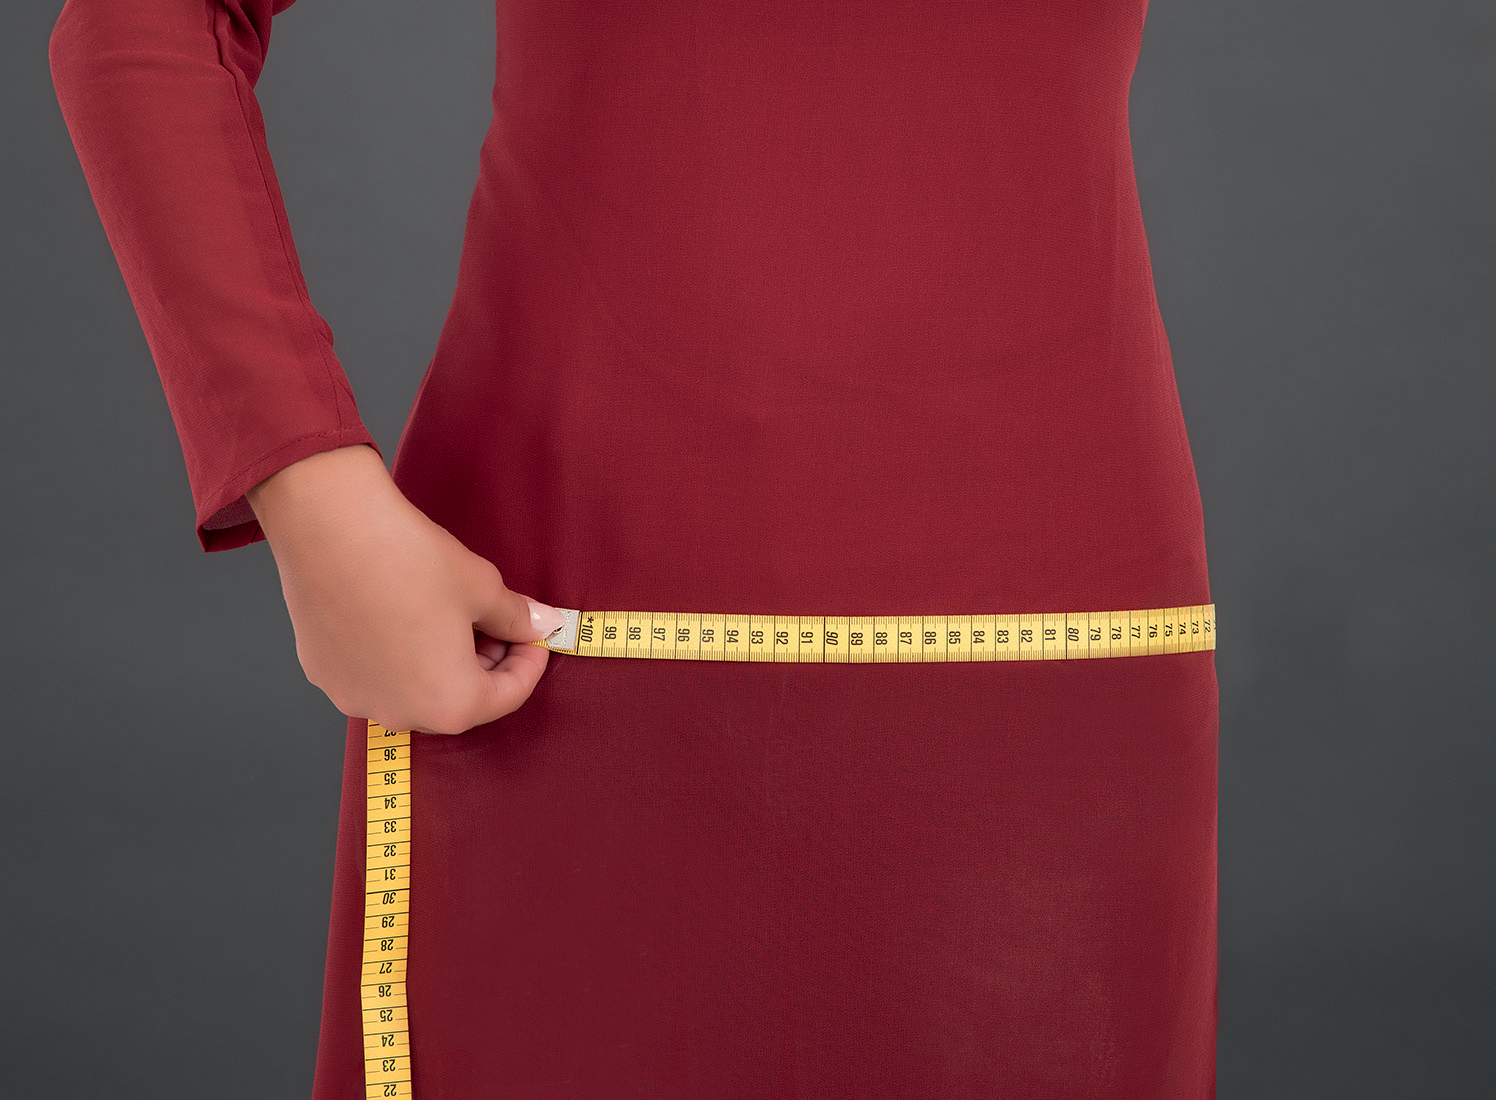
2. Hip Measurement
Measure the fullest part of the hip, immediately below the fullest part of the abdomen.
This measurement is used to enlarge all parts of the pattern below the waistline, i.e., skirts, trousers, and shorts.
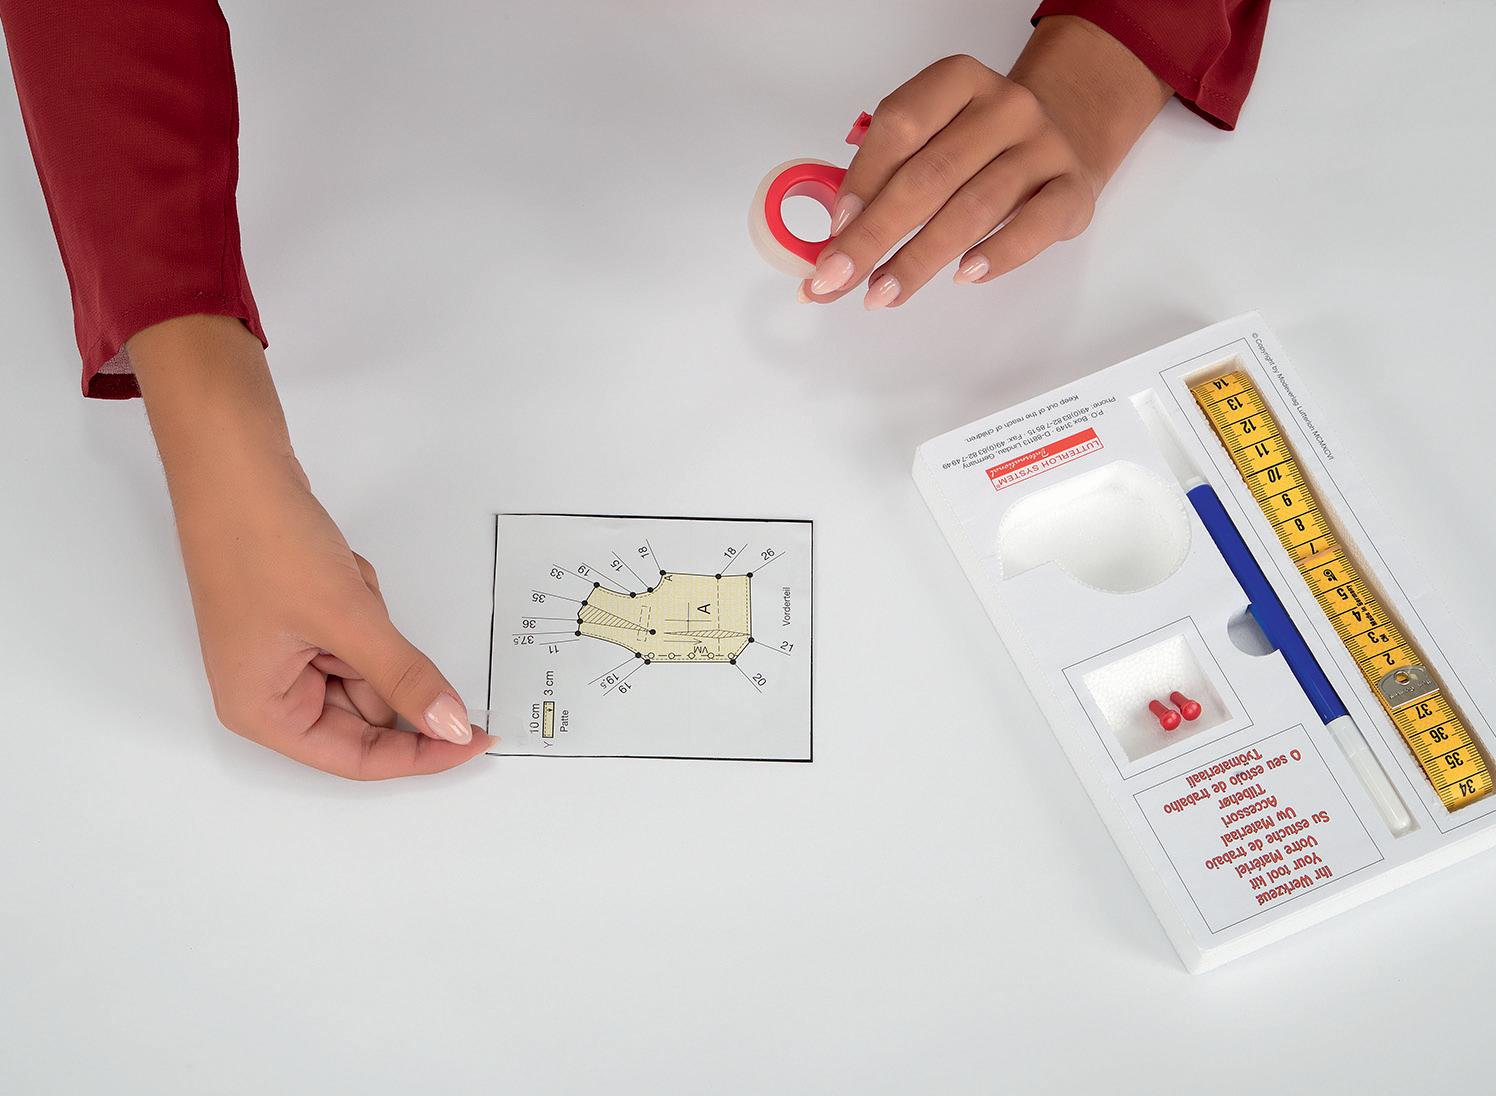
3. Placing diagram on paper
Place a sheet of pattern paper on the table.
Using adhesive tape applied to two corners, attach the chosen pattern to the paper.
The pattern diagram appears on the back of the illustrated drawing.
All parts of the pattern are marked with symbols, i.e., A = front, B = back, etc., all indicated on the symbols page that appears at the end of this instructions section.
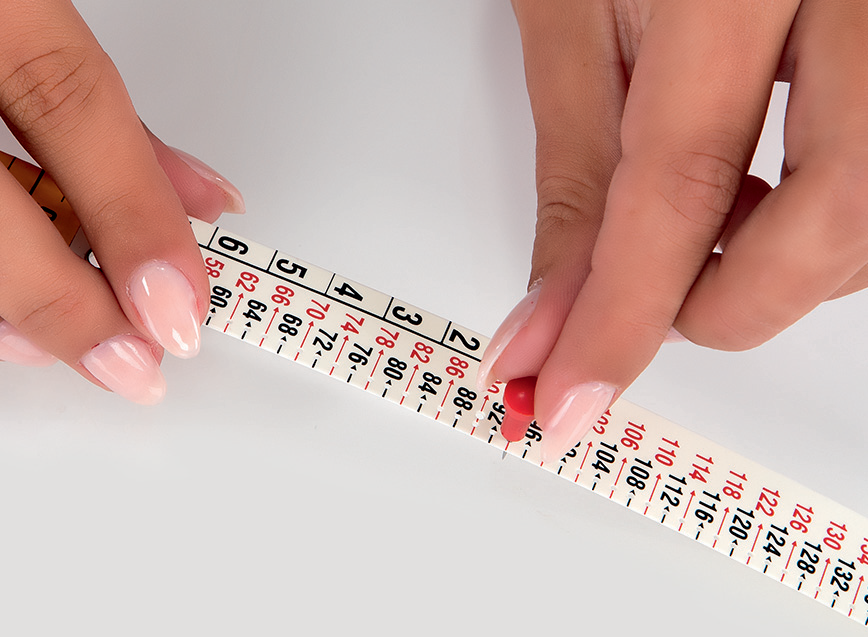
4. Inserting the pin into the scale
The measurement scale is attached to one end of the measuring tape.
On the scale, there are two series of knots, red and black, ranging from 50 to 140 cm. These knots represent the measurements of the bust or hip, and each has a line with a small hole.
Move this special pin through the hole that indicates your bust or hip measurement.
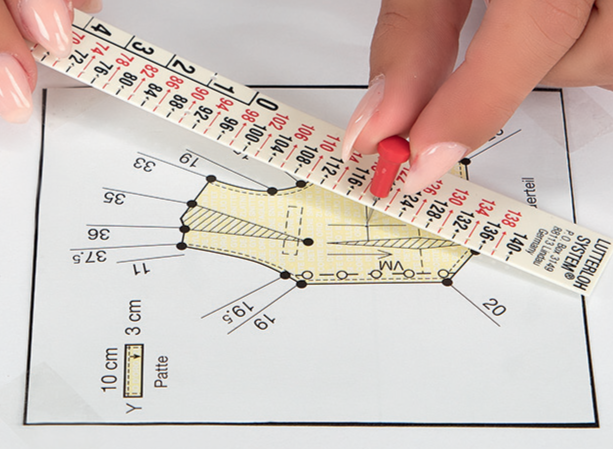
5. Pinning the scale onto the pattern
Carefully move the pin and the scale to the center of the already marked cross.
Each pattern has a cross, and in some cases, this cross is outside the pattern. There is an arrow on the cross pointing to the pattern it belongs to.
To avoid damaging the table, it is advisable to place a protective layer under the area where the pin will be secured.
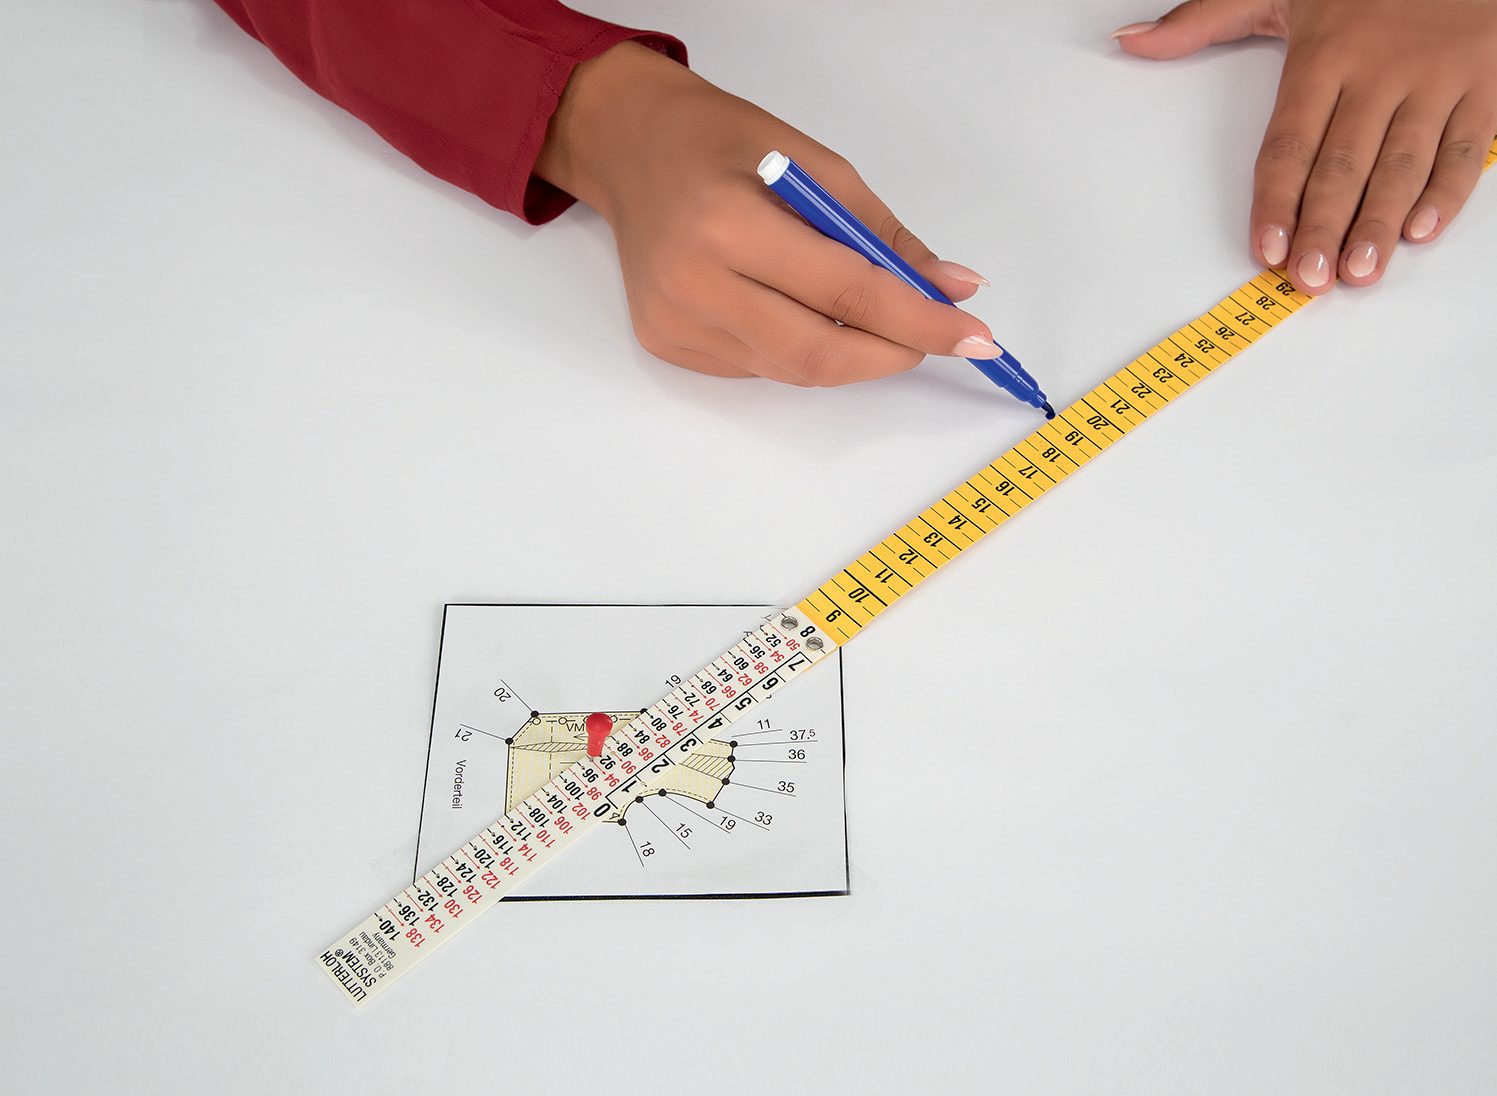
6. Making dots
The tape rotates freely in any direction. Align the edge of the scale with any of the chosen lines that form on the pattern. Extend the measuring tape (in the same direction). Look for the knot in cm on the pattern, i.e., 19.5, and mark it with a point (next to the 19.5 on the extended tape).
The marking of the points is done on the same side of the tape, where the line and the dot appear in the pattern diagram.
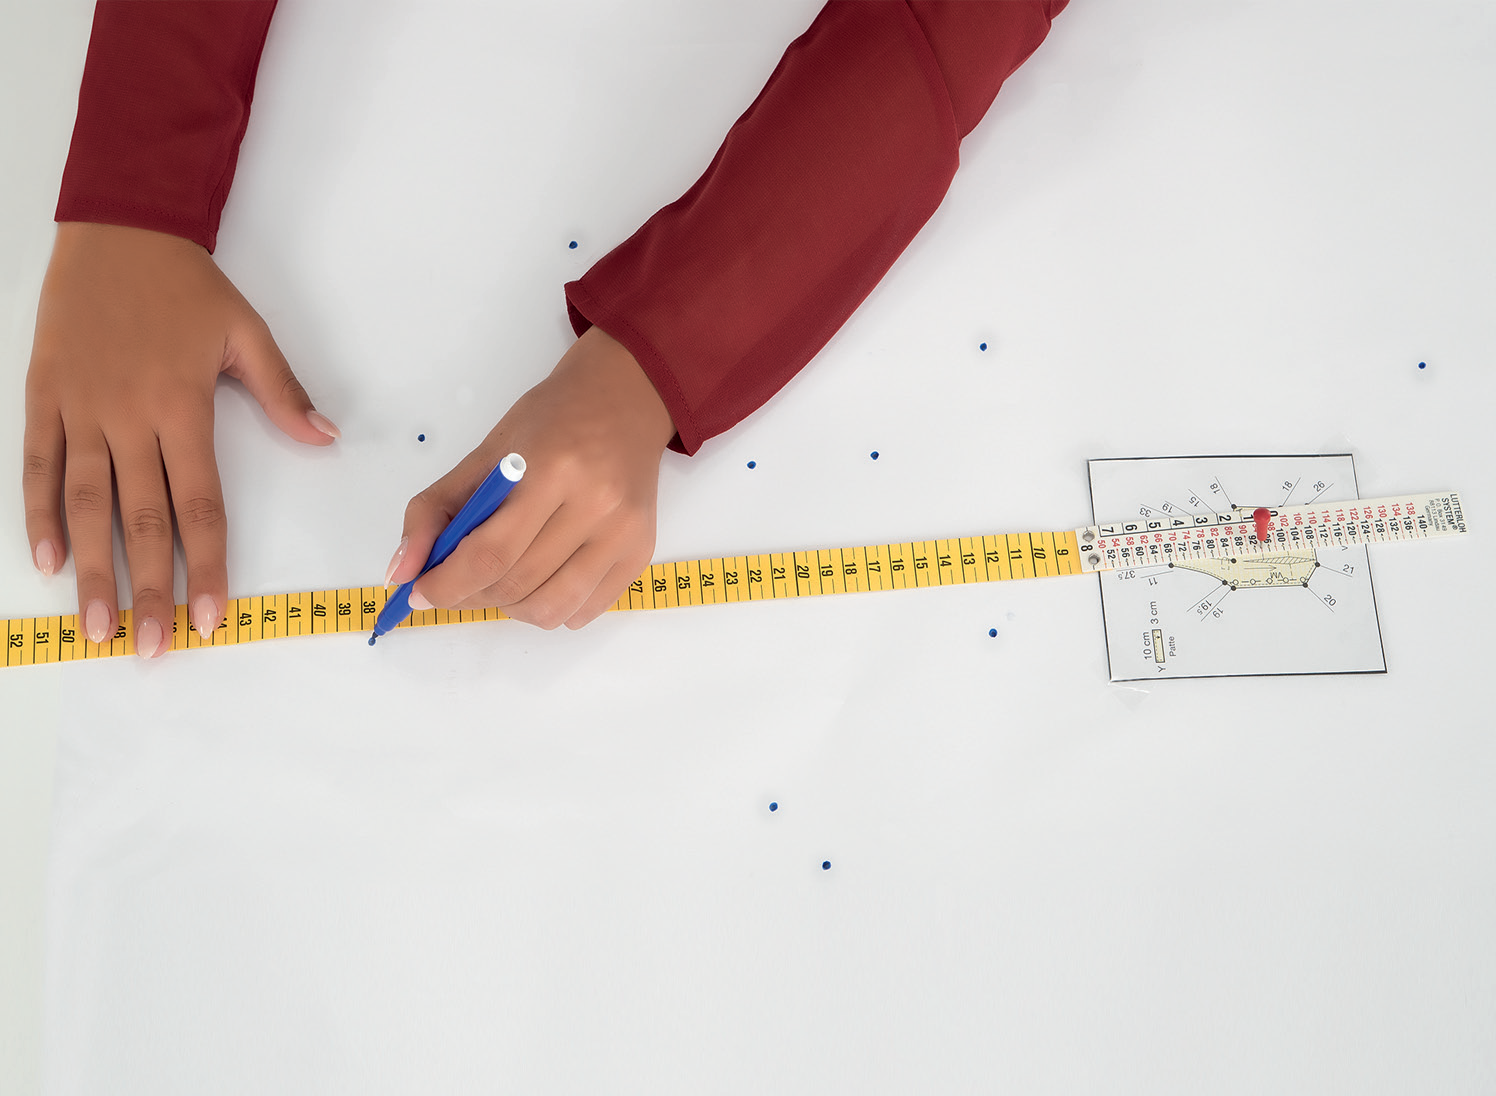
7. Completing all dots
Using the bust measurement, mark all points on the patterns above and including the waist.
Change the pin to the hip measurement and mark all points below the waist.
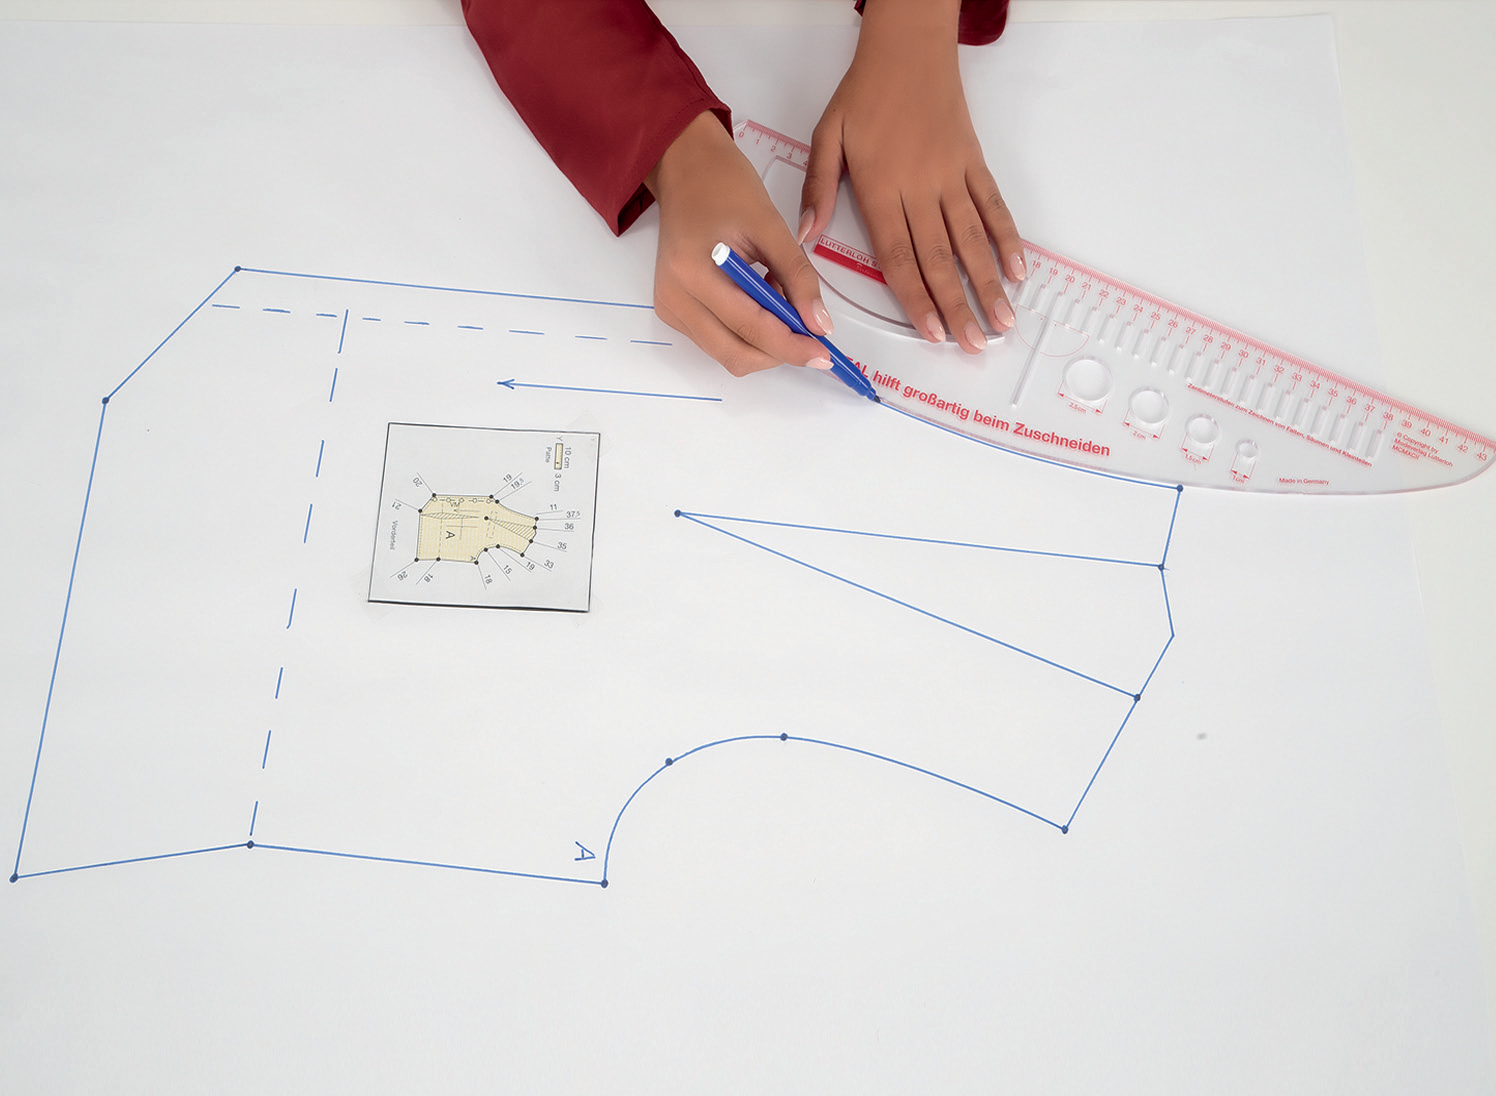
8. Connecting the dots
If any point is outside the line, realign it according to the pattern diagram.
Connect all the points with a ruler. Using its straight edge, first mark all the straight lines, and then with the curved part, draw the armholes, necklines, hip curves, etc.
When all the points are connected, transfer all the symbols from the diagram to your pattern, i.e., with the arrow for the straight of grain. Remove the diagram and mark the pinhole. This is where the pattern is adjusted to the length of the body.
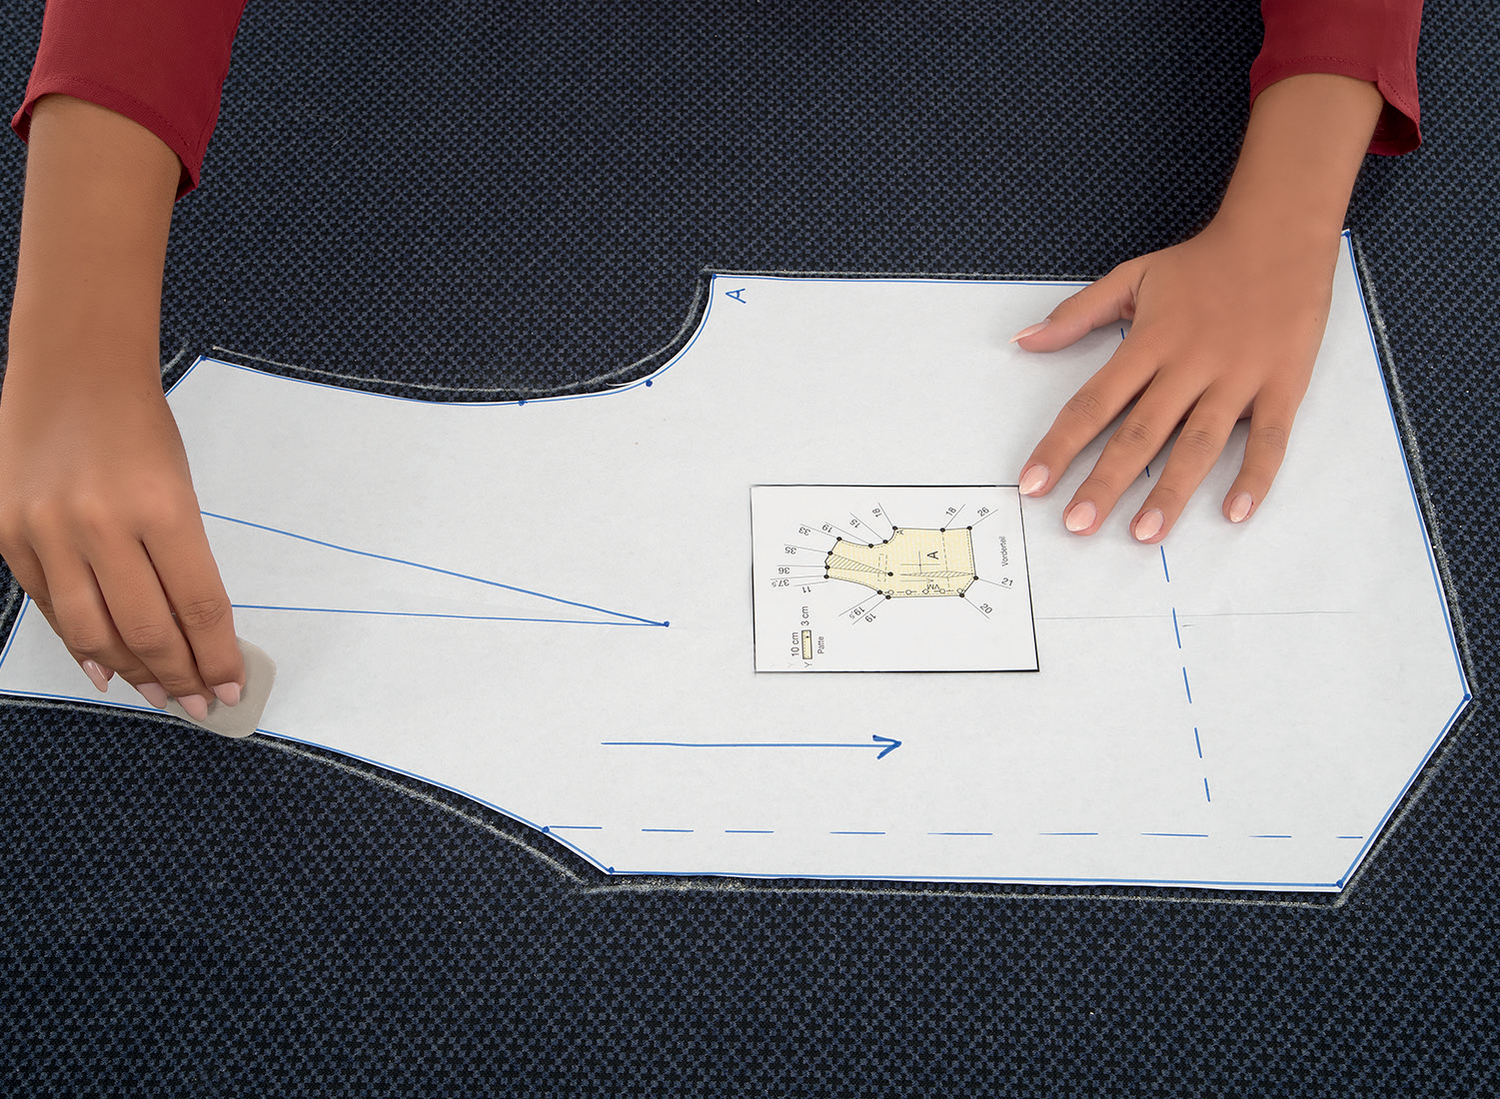
9. Cutting the paper pattern and transferring it onto the material
Cut out the pattern.
The finished pattern now corresponds to your measurements.
You can adjust the length to your preference.
Tighten the waistband to your measurement.
Place the pattern on the fabric and trace its contours with chalk.
Note:
Before cutting the fabric, always check the accuracy of the pattern.
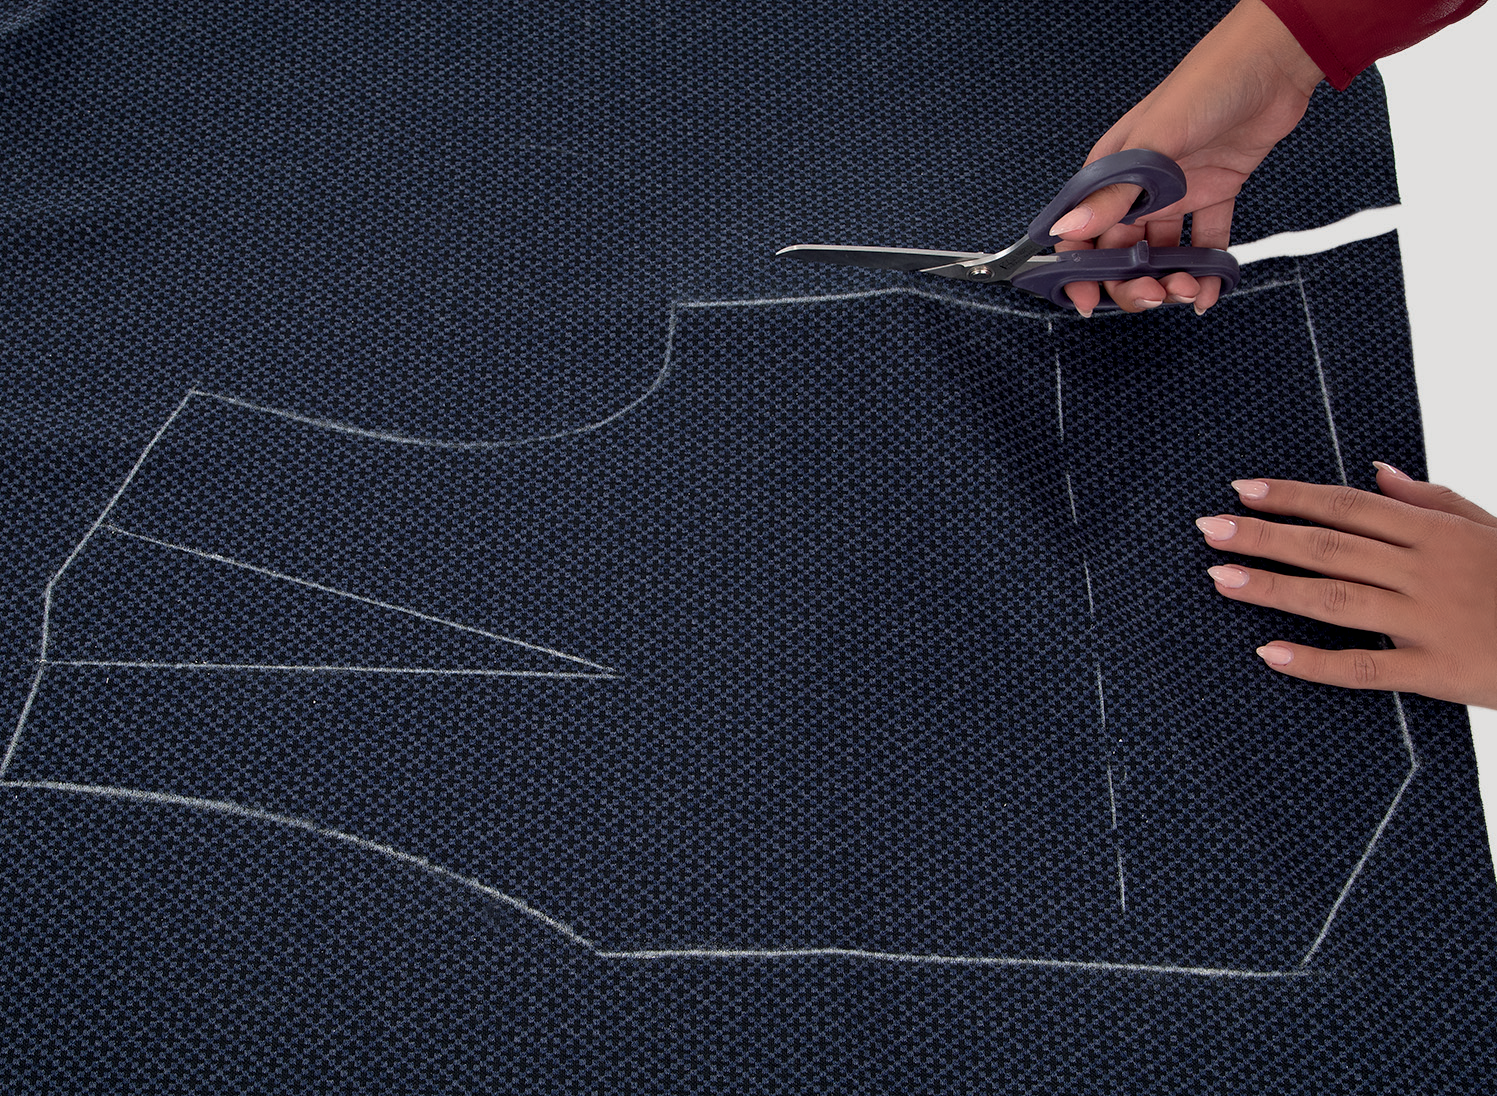
10. Cutting the material
The finished pattern does not include any margin for seams or hems. Allow between 1 to 2 cm for seams and 5 to 7 cm for hems.
The same pattern can be used for making linings, coverings, and collar reinforcements.
